

Chocolate Mousse is a rich, smooth, and creamy dessert that is full of deep chocolate flavor. Its light and airy texture makes every spoonful feel delicate, while the chocolate gives it just the right amount of sweetness. Made with simple ingredients, this dessert is easy to prepare and has an elegant look that makes it perfect for both everyday treats and special occasions.
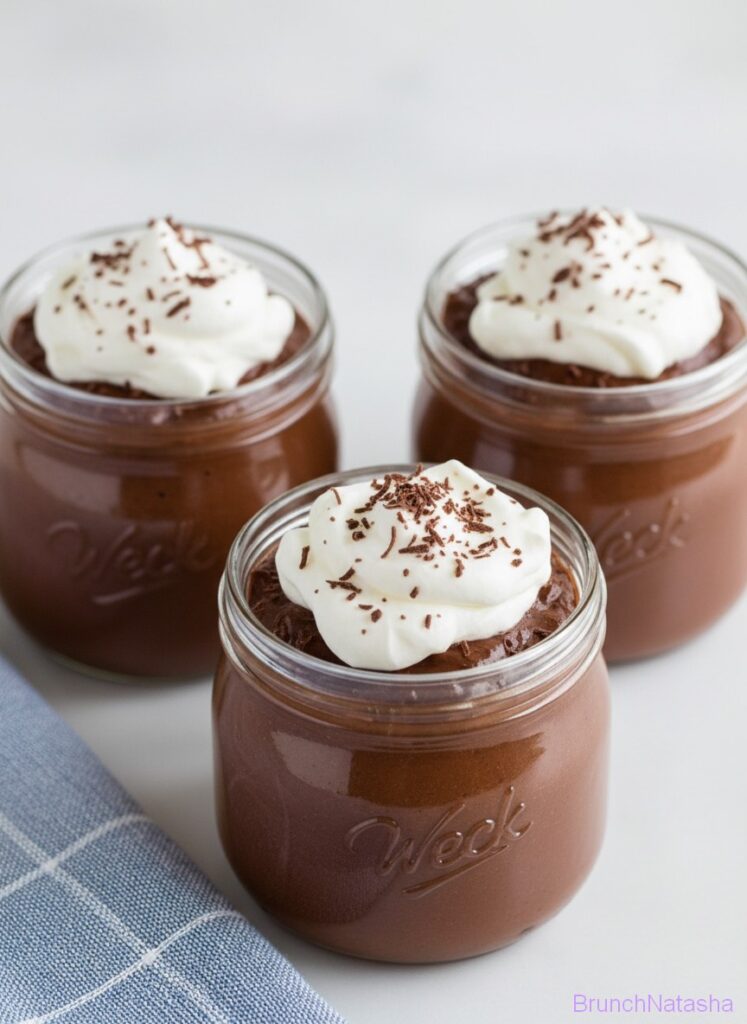
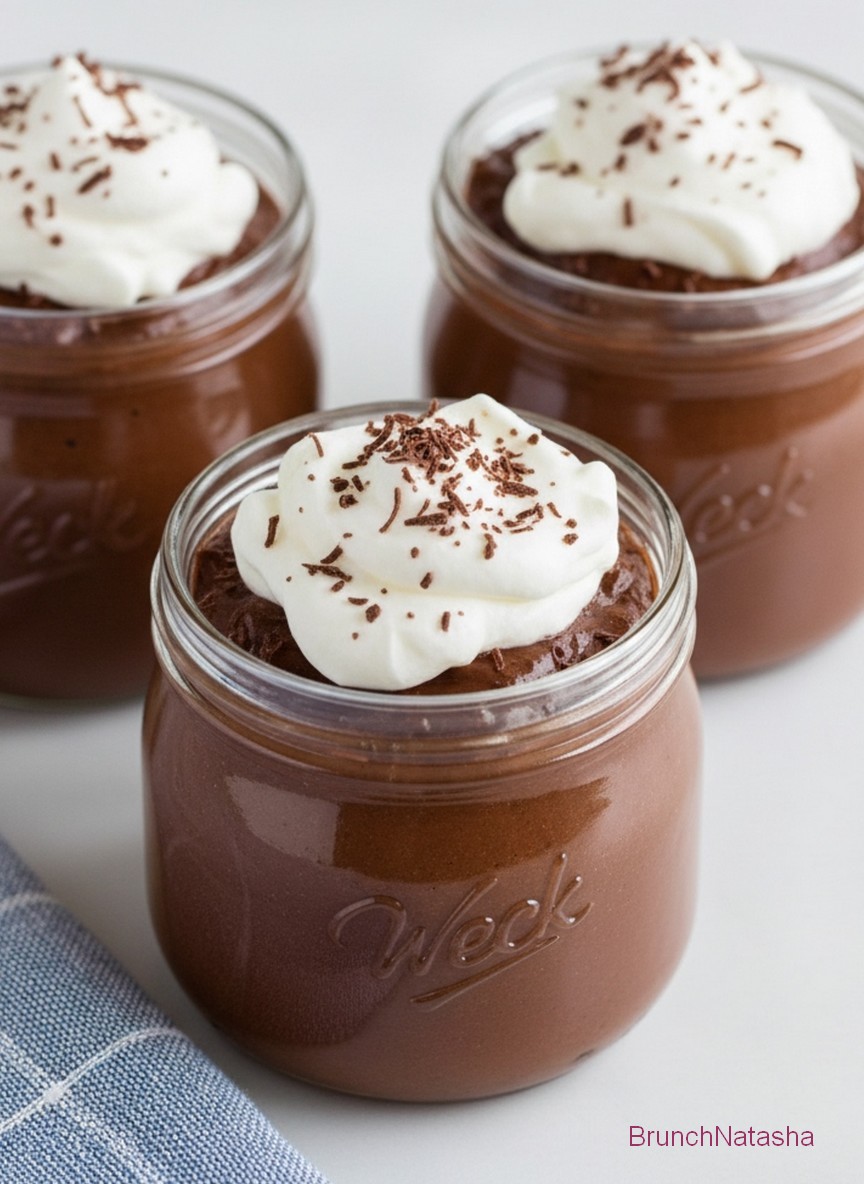
This mousse is wonderful for dinner parties, holidays, birthdays, or a cozy dessert after dinner. Serve it chilled in small glasses or bowls and top it with whipped cream, chocolate shavings, or fresh berries. It can also be made ahead of time, making it an easy dessert to prepare when you want something delicious without spending hours in the kitchen.
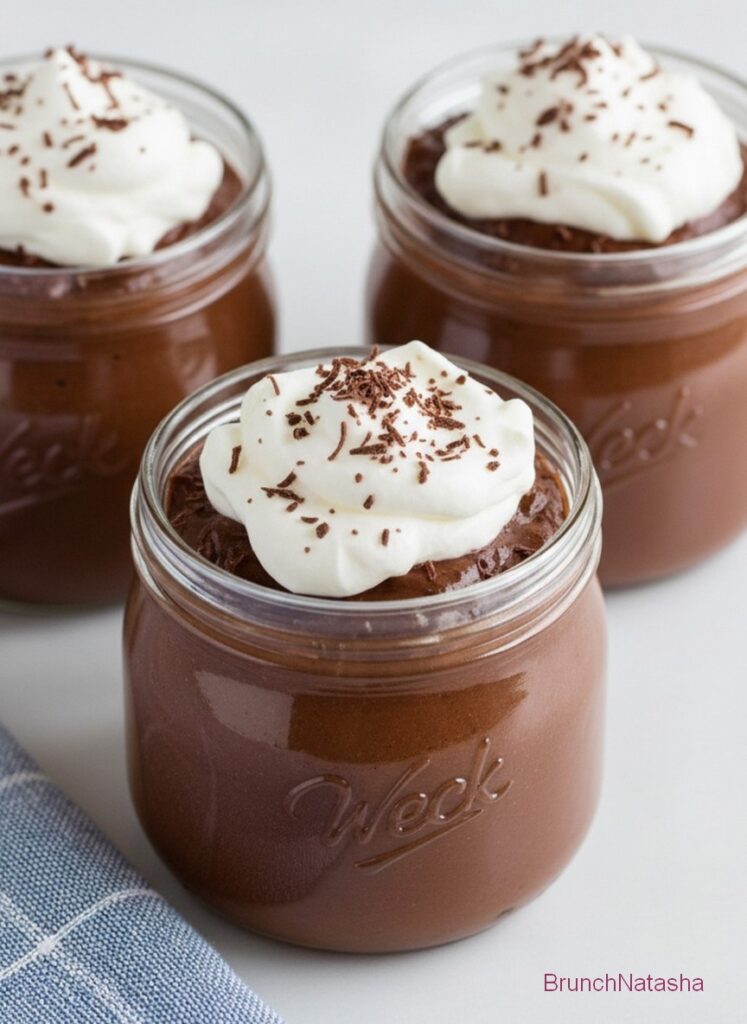
Table of Contents
Easy Chocolate Mousse Ingredients
Here’s what you need to make Easy Chocolate Mousse:
- 200g (about 7 oz) dark chocolate or milk chocolate if you prefer sweeter
- 1 cup (240 ml) heavy cream
- 2 tablespoons sugar
- 1 teaspoon vanilla extract
- A pinch of salt
Optional toppings:
- Whipped cream
- Fresh berries like strawberries or raspberries
- Chocolate shavings
How to Make Easy Chocolate Mousse
Step 1: Preparing the Chocolate
Start by breaking the chocolate into small pieces and placing it in a heat-safe bowl. Melt it slowly using a microwave in short intervals or over a bowl of hot water. Stir gently until smooth, then leave it aside to cool slightly so it doesn’t affect the cream later.
Step 2: Whipping the Cream
In another bowl, pour the heavy cream and add the sugar. Using a whisk or hand mixer, beat the cream until it becomes fluffy and forms soft peaks. This means the cream holds its shape but still looks smooth and soft.
Step 3: Mixing the Mousse
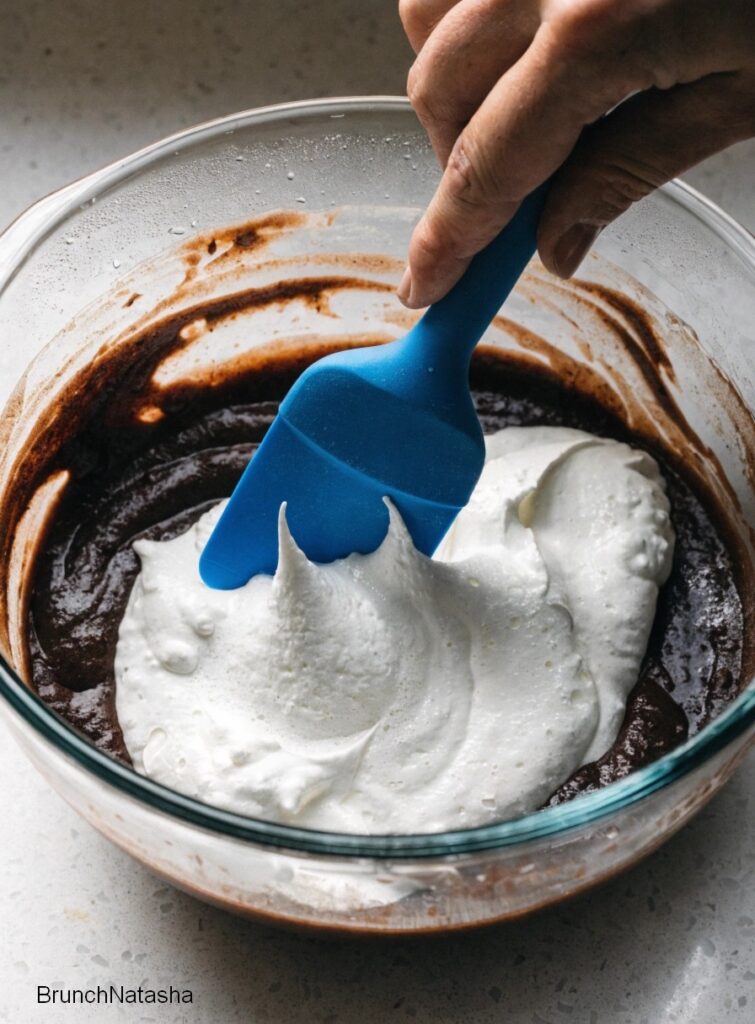
Slowly pour the melted and slightly cooled chocolate into the whipped cream. Gently fold the mixture using a spatula. Take your time and mix carefully so the mousse stays light and airy. Add the vanilla extract and a pinch of salt, then continue folding until everything is well combined.
Step 4: Filling and Setting
Spoon the mousse into serving cups or small bowls. Smooth the tops if needed, then cover them lightly. Place the cups in the refrigerator and let them chill for at least 2 hours so the mousse can set properly and become creamy.
Step 5: Serving
Once the mousse is fully set, take it out of the fridge. Add your favorite toppings like whipped cream, fruits, or chocolate shavings. Serve it cold and enjoy your delicious homemade chocolate mousse!
Kitchen Equipment Needed
To make this recipe, you will need:
- Mixing bowls
- Whisk or hand mixer
- Spatula
- Microwave or double boiler
- Measuring cups and spoons
- Serving cups or dessert glasses
Why You’ll Love This Recipe
You’ll love this Easy Chocolate Mousse because it’s incredibly simple to make, requires only a few basic ingredients, and delivers a rich, creamy, and smooth texture that feels light and melts perfectly in your mouth, making it an ideal no-bake dessert for any occasion whether you want something quick, impressive, or just a delicious homemade treat.
Tips and Shortcuts
Don’t overheat the chocolate or it may become grainy.
Use pre-whipped cream if you want a faster option.
Let the chocolate cool slightly before mixing with cream.
Fold gently to keep the mousse light and fluffy.
What to Serve with Easy Chocolate Mousse
I like making easy chocolate mousse when I want a dessert that’s rich, smooth, and really simple to prepare. It has a light and creamy texture with a deep chocolate flavor that makes it feel special without much effort. It’s perfect for a quick dessert or when you want something sweet after a meal. My daughter enjoys it because it’s soft and creamy. At home we usually serve it chilled. It goes really well with coffee, orange juice, or a smoothie.
Frequently Asked Questions
Can I use milk chocolate instead of dark chocolate ?
Yes, but it will be sweeter and less rich.
Can I freeze chocolate mousse ?
It’s not recommended because the texture may change.
Can I add flavors ?
Yes, try vanilla, coffee, or orange zest.
Can I add nuts ?
Yes, for extra crunch.
Easy Chocolate Mousse
Course: DessertCuisine: FrenchDifficulty: Easy4
servings15
minutes5
minutes300
kcal2
hours40
minutesA smooth, creamy, and light chocolate dessert made with just a few ingredients, perfect for a quick and delicious no-bake treat.
Ingredients
200g (about 7 oz) dark chocolate or milk chocolate if you prefer sweeter
1 cup (240 ml) heavy cream
2 tablespoons sugar
1 teaspoon vanilla extract
A pinch of salt
Whipped cream
Fresh berries like strawberries or raspberries
Chocolate shavings
Directions
- Step 1: Preparing the Chocolate :Start by breaking the chocolate into small pieces and placing it in a heat-safe bowl. Melt it slowly using a microwave in short intervals or over a bowl of hot water. Stir gently until smooth, then leave it aside to cool slightly so it doesn’t affect the cream later.
- Step 2: Whipping the Cream :In another bowl, pour the heavy cream and add the sugar. Using a whisk or hand mixer, beat the cream until it becomes fluffy and forms soft peaks. This means the cream holds its shape but still looks smooth and soft.
- Step 3: Mixing the Mousse :Slowly pour the melted and slightly cooled chocolate into the whipped cream. Gently fold the mixture using a spatula. Take your time and mix carefully so the mousse stays light and airy. Add the vanilla extract and a pinch of salt, then continue folding until everything is well combined.
- Step 4: Filling and Setting :Spoon the mousse into serving cups or small bowls. Smooth the tops if needed, then cover them lightly. Place the cups in the refrigerator and let them chill for at least 2 hours so the mousse can set properly and become creamy.
- Step 5: Serving :Once the mousse is fully set, take it out of the fridge. Add your favorite toppings like whipped cream, fruits, or chocolate shavings. Serve it cold and enjoy your delicious homemade chocolate mousse!
Notes
- Don’t overwhip the cream or it will become grainy.
- Add a little coffee powder to deepen the taste.
- Chill mousse overnight for best texture.
- Add fruits like strawberries for freshness.
Save this recipe for later on Pinterest


One Comment
Comments are closed.