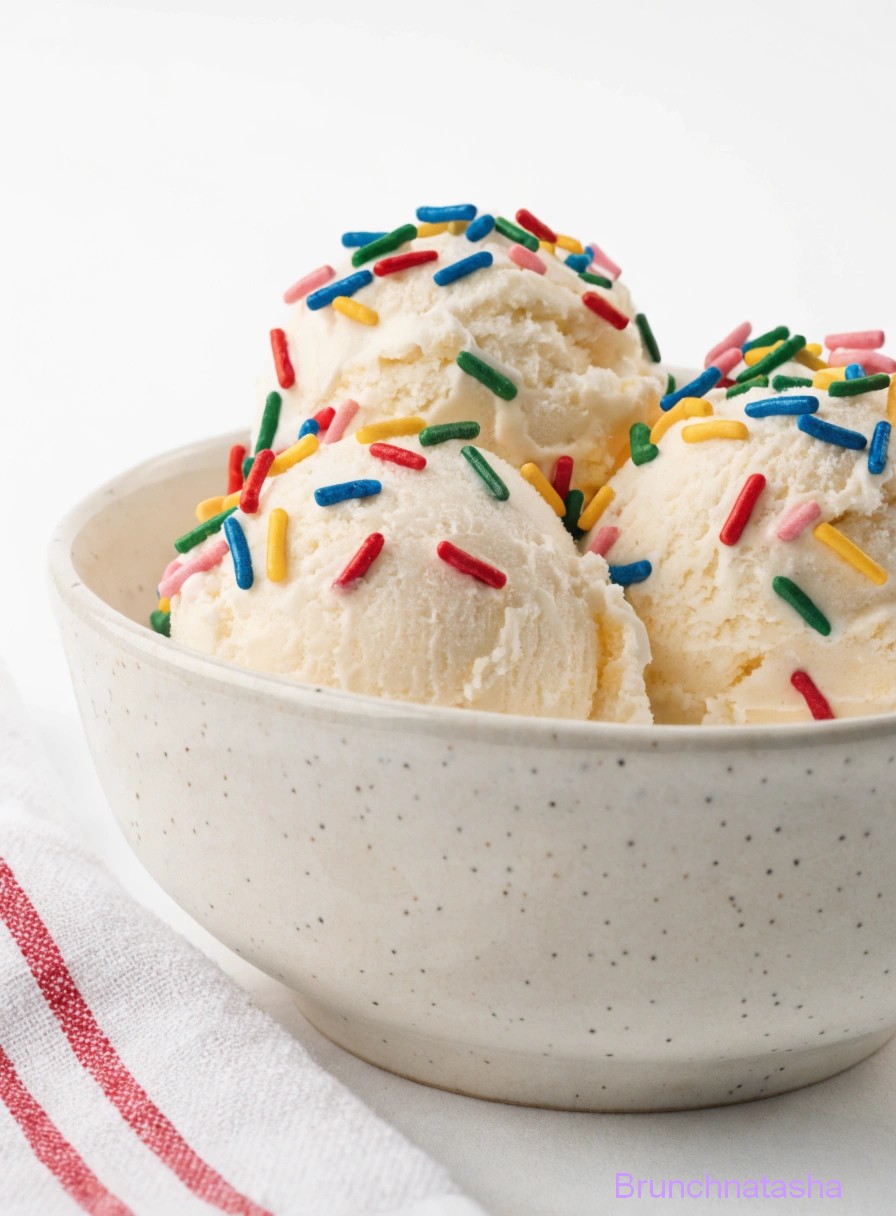
Vanilla Ice Cream is one of the most loved desserts in the world. It is a frozen treat made from cream, milk, sugar, and vanilla. Even though it has a simple flavor, vanilla ice cream is rich, creamy, sweet, and delicious. It is often used as a base for sundaes, milkshakes, ice cream sandwiches, and many other desserts.
The magic of vanilla ice cream comes from its smooth texture and comforting flavor. Real vanilla adds a sweet and slightly floral taste that makes every spoonful special. Whether served in a bowl, cone, or alongside a warm dessert, vanilla ice cream is a classic favorite that never goes out of style.
Why You Should Try Vanilla Ice Cream
If you have never made homemade vanilla ice cream before, this recipe is the perfect place to start. It uses simple ingredients that are easy to find and creates a rich, creamy dessert that tastes much better than many store-bought versions.
Making ice cream at home is also a fun activity for families. Kids can help measure ingredients, mix the custard, and watch the ice cream transform into a frozen treat. Plus, you can customize it with your favorite toppings, mix-ins, or sauces. Once you try homemade vanilla ice cream, you may never want to go back to store-bought again.
Table of Contents
Vanilla Ice Cream Ingredients
Here’s what you need to make Vanilla Ice Cream:
- 2 cups heavy cream
- 1 cup whole milk
- ¾ cup granulated sugar
- 1 tablespoon pure vanilla extract
- 4 large egg yolks
- Pinch of salt
How to Make Vanilla Ice Cream
Step 1: Heat the Dairy
Pour the heavy cream and whole milk into a medium saucepan. Add half of the sugar and a pinch of salt. Place the pan over medium heat and stir gently until the mixture becomes warm and the sugar dissolves completely. Do not allow it to boil. The goal is to warm the mixture so the flavors blend together nicely.
Step 2: Prepare the Egg Mixture
In a separate mixing bowl, whisk the egg yolks with the remaining sugar. Continue whisking until the mixture becomes lighter in color and slightly thick. This step helps create the creamy texture that homemade ice cream is known for.
Step 3: Temper the Eggs
Slowly pour a small amount of the warm milk mixture into the egg mixture while whisking constantly. This process is called tempering and prevents the eggs from scrambling. Keep adding the warm liquid a little at a time until about half of it has been incorporated.
Step 4: Cook the Custard
Pour the tempered egg mixture back into the saucepan with the remaining warm milk mixture. Cook over medium-low heat while stirring constantly with a wooden spoon or spatula. Continue stirring until the custard thickens enough to coat the back of a spoon. This usually takes several minutes. Be patient and avoid rushing this step.
Step 5: Add the Vanilla
Remove the saucepan from the heat. Stir in the vanilla extract and mix well. The warm custard will help release the wonderful aroma and flavor of the vanilla.
Step 6: Strain the Mixture
Pour the custard through a fine mesh strainer into a clean bowl. This removes any small bits of cooked egg and ensures the ice cream will be extra smooth and creamy.
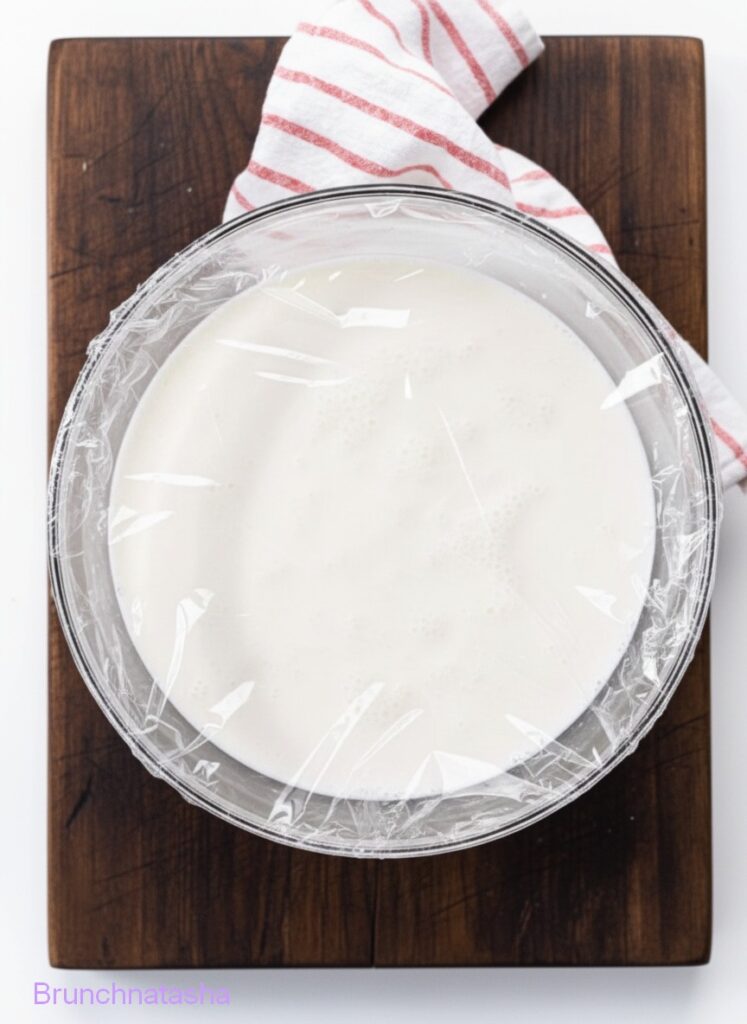
Step 7: Chill Thoroughly
Cover the bowl and place it in the refrigerator for at least 4 hours, or overnight if possible. Chilling the mixture completely helps the ice cream churn properly and creates a better texture.
Step 8: Churn the Ice Cream
Pour the chilled custard into your ice cream maker and churn according to the manufacturer’s instructions. The mixture will gradually become thick, fluffy, and frozen. This process usually takes 20 to 30 minutes.
Step 9: Freeze Until Firm
Transfer the churned ice cream into an airtight container. Smooth the top with a spatula and place a piece of plastic wrap directly on the surface. Freeze for 2 to 4 hours until firm enough to scoop easily.
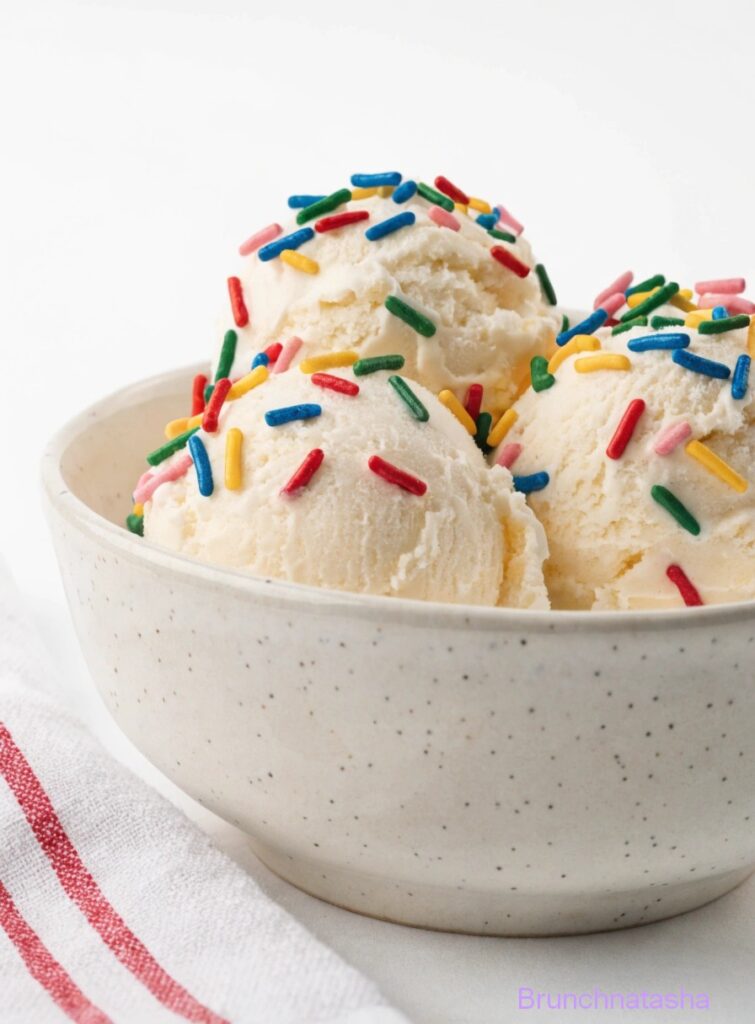
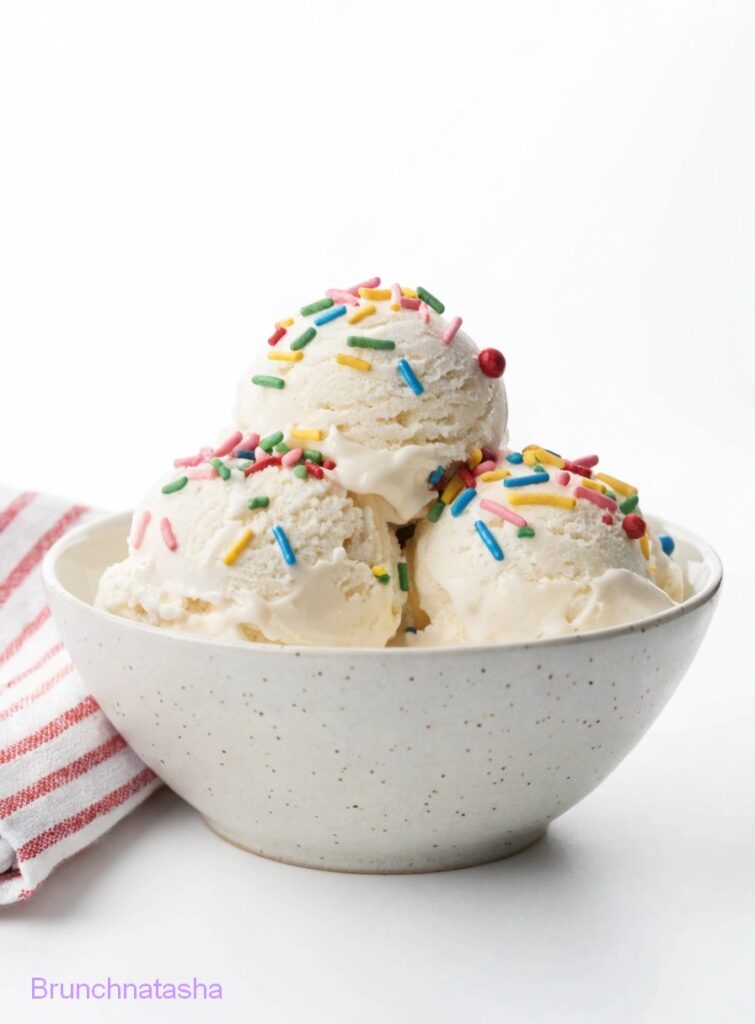
Step 10: Serve and Enjoy
Scoop the vanilla ice cream into bowls or cones and enjoy. Add your favorite toppings or serve it alongside desserts for an extra-special treat.
Why You’ll Love This Recipe
- Rich, creamy, and full of classic vanilla flavor.
- Made with simple ingredients you may already have at home.
- Tastes fresher and more delicious than many store-bought ice creams.
- Easy to customize with your favorite toppings and mix-ins.
- Perfect for birthdays, holidays, parties, or everyday treats.
- Smooth and velvety texture that melts in your mouth.
Tips and Shortcuts
- Keep stirring while cooking the custard.
- Add mix-ins during the last few minutes of churning.
- Store the ice cream in a shallow container for faster freezing.
- Never let the custard boil.
What to Serve with Vanilla Ice Cream
I like making vanilla ice cream when I want something creamy, smooth, and classic. Its rich vanilla flavor makes it a timeless dessert that’s simple yet incredibly satisfying. It’s perfect on its own or served with cakes, pies, and other sweet treats. My daughter loves it because it’s sweet, creamy, and goes with almost anything. At home we usually serve it chilled with fresh fruit, cookies, or a drizzle of chocolate sauce. It goes really well with coffee, a smoothie, or as a refreshing dessert after a meal.
Frequently Asked Questions
Can I make vanilla ice cream without an ice cream maker ?
Yes, you can freeze the mixture and stir it every 30 minutes until creamy.
How long does homemade ice cream last ?
About 2 to 3 weeks when stored properly.
Can I add chocolate chips ?
Absolutely. Add them during the last few minutes of churning.
Why is my custard not thickening ?
It may need more cooking time over low heat.
How to Store Leftovers
Store leftover vanilla ice cream in an airtight, freezer-safe container as soon as possible after serving. This helps maintain its creamy texture and prevents it from absorbing odors from other foods in the freezer.
When you’re ready to enjoy it again, remove the container from the freezer and let it sit at room temperature for 5 to 10 minutes. This allows the ice cream to soften slightly, making it easier to scoop and serve.
Vanilla Ice Cream
Course: DessertCuisine: AmericanDifficulty: Easy4
servings15
minutes15
minutes320
kcal4
hoursThis homemade vanilla ice cream is rich, creamy, and packed with classic vanilla flavor. Made with simple ingredients, it's a delicious frozen dessert that's perfect for any occasion.
Ingredients
2 cups heavy cream
1 cup whole milk
¾ cup granulated sugar
1 tablespoon pure vanilla extract
4 large egg yolks
Pinch of salt
Directions
- Step 1: Heat the Dairy :Pour the heavy cream and whole milk into a medium saucepan. Add half of the sugar and a pinch of salt. Place the pan over medium heat and stir gently until the mixture becomes warm and the sugar dissolves completely. Do not allow it to boil. The goal is to warm the mixture so the flavors blend together nicely.
- Step 2: Prepare the Egg Mixture :In a separate mixing bowl, whisk the egg yolks with the remaining sugar. Continue whisking until the mixture becomes lighter in color and slightly thick. This step helps create the creamy texture that homemade ice cream is known for.
- Step 3: Temper the Eggs :Slowly pour a small amount of the warm milk mixture into the egg mixture while whisking constantly. This process is called tempering and prevents the eggs from scrambling. Keep adding the warm liquid a little at a time until about half of it has been incorporated.
- Step 4: Cook the Custard :Pour the tempered egg mixture back into the saucepan with the remaining warm milk mixture. Cook over medium-low heat while stirring constantly with a wooden spoon or spatula. Continue stirring until the custard thickens enough to coat the back of a spoon. This usually takes several minutes. Be patient and avoid rushing this step.
- Step 5: Add the Vanilla :Remove the saucepan from the heat. Stir in the vanilla extract and mix well. The warm custard will help release the wonderful aroma and flavor of the vanilla.
- Step 6: Strain the Mixture :Pour the custard through a fine mesh strainer into a clean bowl. This removes any small bits of cooked egg and ensures the ice cream will be extra smooth and creamy.
- Step 7: Chill Thoroughly :Cover the bowl and place it in the refrigerator for at least 4 hours, or overnight if possible. Chilling the mixture completely helps the ice cream churn properly and creates a better texture.
- Step 8: Churn the Ice Cream :Pour the chilled custard into your ice cream maker and churn according to the manufacturer's instructions. The mixture will gradually become thick, fluffy, and frozen. This process usually takes 20 to 30 minutes.
- Step 9: Freeze Until Firm :Transfer the churned ice cream into an airtight container. Smooth the top with a spatula and place a piece of plastic wrap directly on the surface. Freeze for 2 to 4 hours until firm enough to scoop easily.
- Step 10: Serve and Enjoy :Scoop the vanilla ice cream into bowls or cones and enjoy. Add your favorite toppings or serve it alongside desserts for an extra-special treat.
Notes
- For an even deeper vanilla taste, use vanilla bean paste.
- Strain the custard for an ultra-smooth texture.
- Cover the surface with plastic wrap to prevent ice crystals.
- Stir constantly to prevent the eggs from curdling.
Save this recipe for later on Pinterest