

Cherry Tart Gluten-Free is a delicious dessert with a buttery, tender crust and a sweet, juicy cherry filling. The bright flavor of fresh cherries pairs beautifully with the lightly crisp crust, creating a wonderful balance of fruity and buttery flavors in every bite. It is a simple way to enjoy a classic tart while keeping it gluten-free.
This tart is perfect for summer gatherings, afternoon tea, family dinners, or a special homemade dessert. You can make it with fresh or frozen cherries, depending on what you have available, and serve it warm or chilled. Add a little powdered sugar, whipped cream, or a scoop of vanilla ice cream on top for an easy finishing touch.
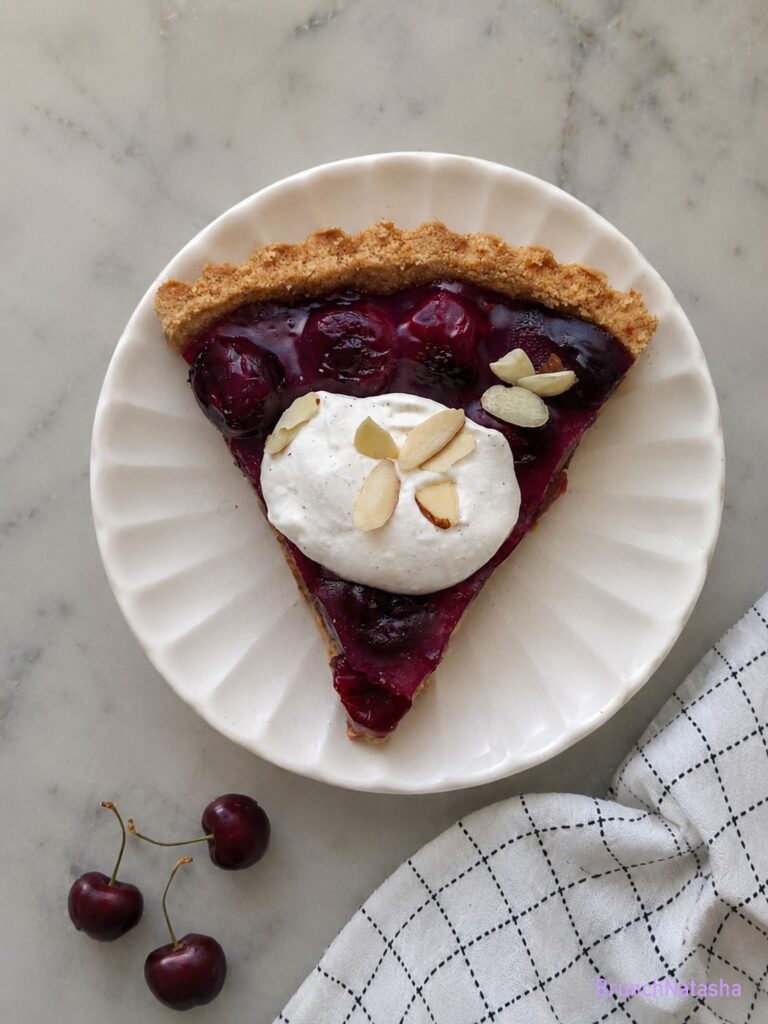
Table of Contents
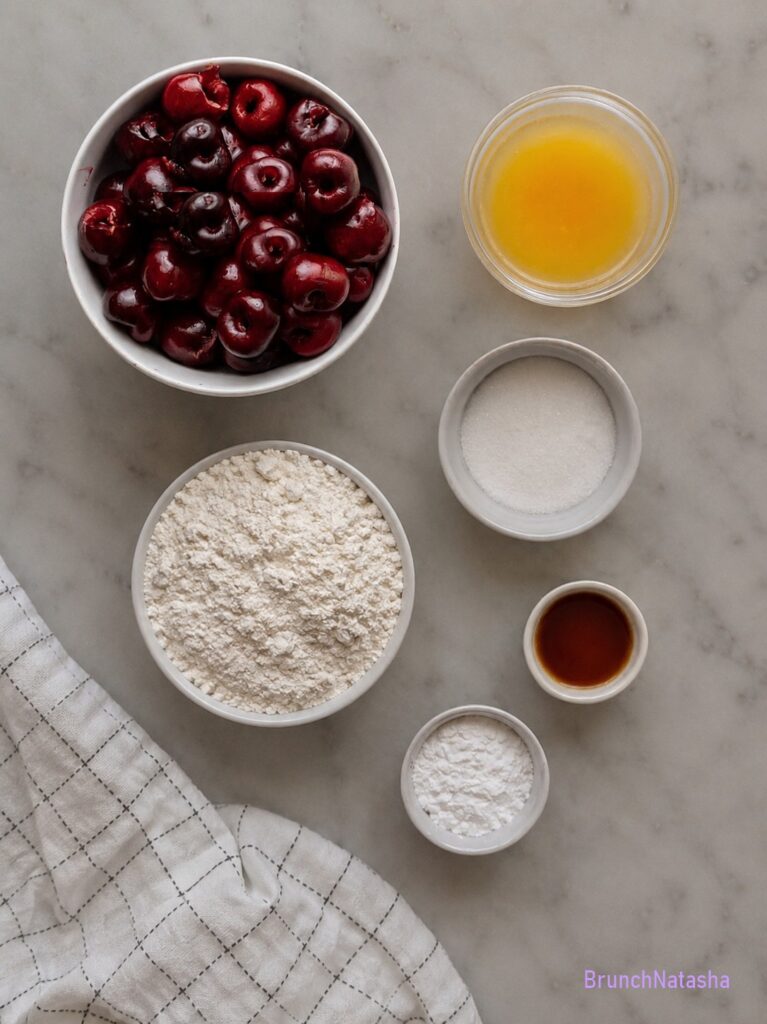
Cherry Tart Gluten-Free Ingredients
For the Gluten-Free Crust
- 2 cups gluten-free all-purpose flour blend
- ½ cup almond flour
- ½ cup cold unsalted butter, cut into cubes
- ¼ cup granulated sugar
- 1 large egg
- 1 teaspoon vanilla extract
- ¼ teaspoon salt
- 2–4 tablespoons cold water if needed
For the Cherry Filling
- 4 cups fresh or frozen pitted cherries
- ½ cup granulated sugar
- 2 tablespoons cornstarch
- 1 tablespoon lemon juice
- 1 teaspoon vanilla extract
- ¼ teaspoon almond extract (optional)
- Pinch of salt
Optional Toppings
- Powdered sugar
- Whipped cream
- Vanilla ice cream
- Fresh cherries
- Mint leaves
How to Make Cherry Tart Gluten-Free
Step 1: Prepare the Gluten-Free Dough
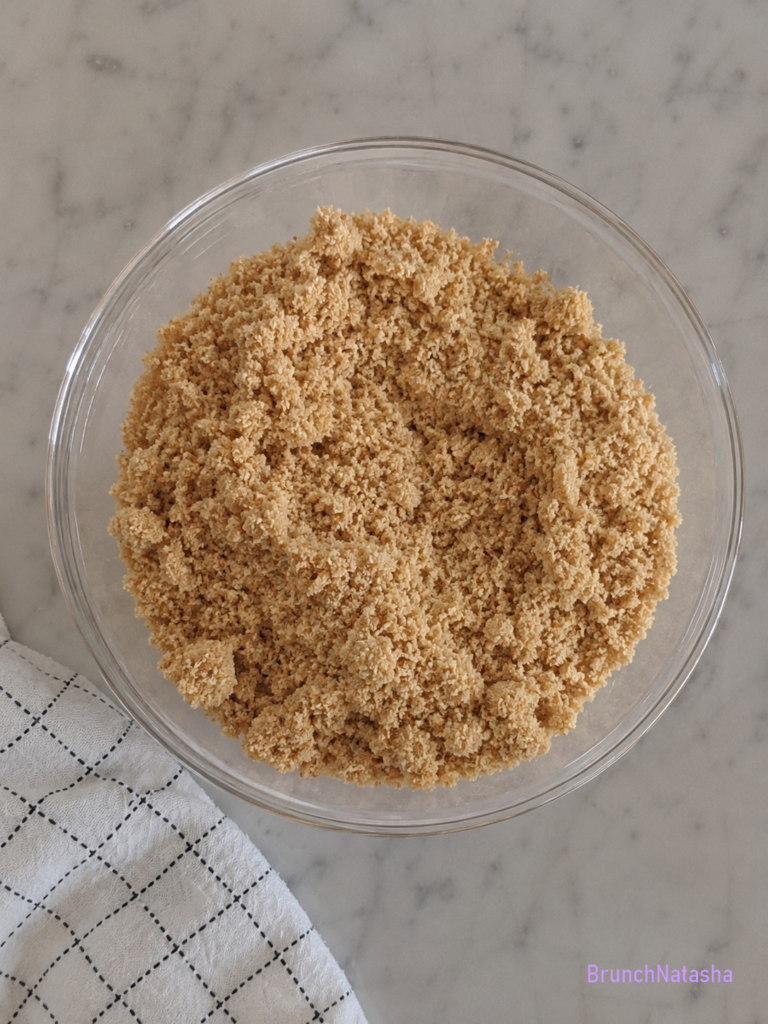
In a large mixing bowl, combine the gluten-free flour blend, almond flour, sugar, and salt. Add the cold butter cubes and use a pastry cutter or your fingertips to mix until the texture looks like coarse crumbs. Stir in the egg and vanilla extract, then slowly add cold water one tablespoon at a time until the dough comes together. Shape it into a flat disk, wrap it in plastic wrap, and chill in the refrigerator for at least 30 minutes. Chilling helps the butter stay cold and makes the crust easier to roll.
Step 2: Make the Cherry Filling
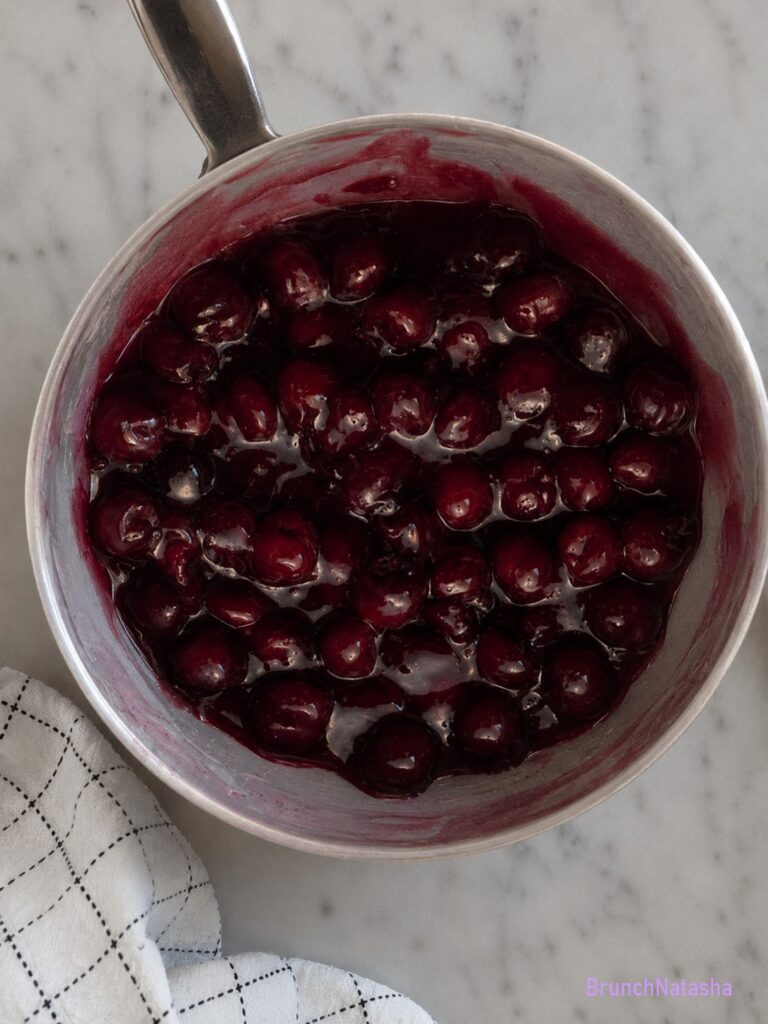
While the dough chills, place the cherries, sugar, cornstarch, lemon juice, vanilla extract, almond extract if using, and a pinch of salt into a saucepan. Cook over medium heat, stirring often, until the cherries soften and the mixture thickens into a glossy filling. This usually takes about 8 to 10 minutes. Remove the pan from the heat and allow the filling to cool slightly before adding it to the crust.
Step 3: Assemble the Tart
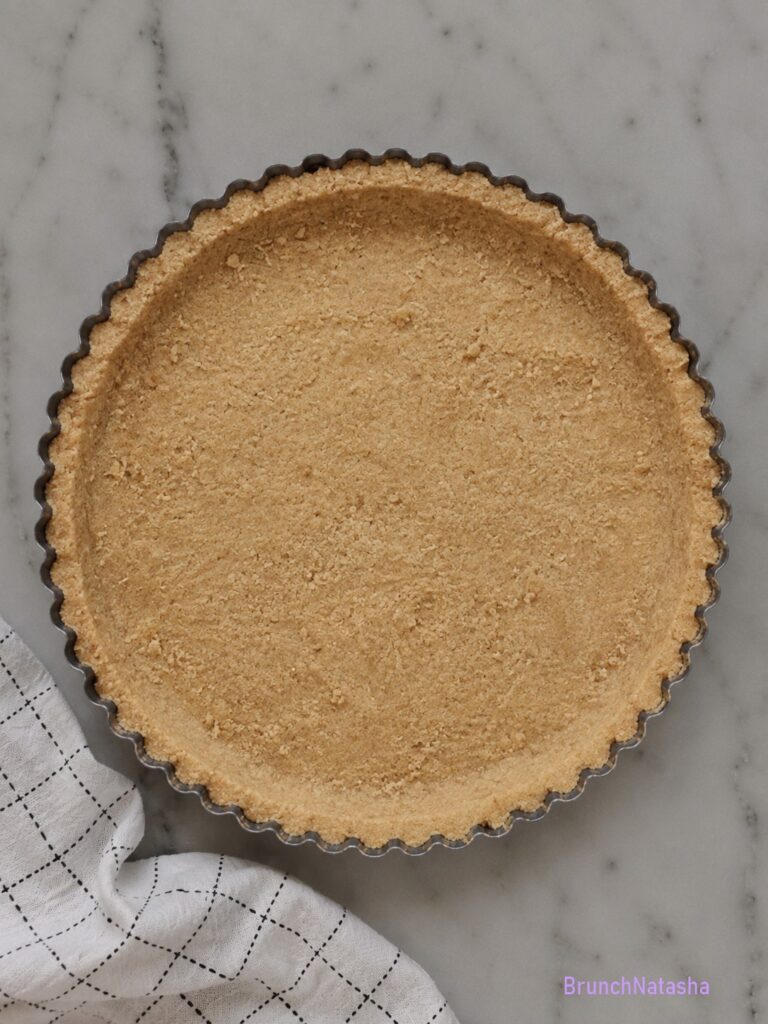
Preheat your oven to 375°F (190°C). Roll the chilled dough between two sheets of parchment paper until it is large enough to fit your tart pan. Carefully press the dough into the pan and trim the edges if needed. Spoon the cooled cherry filling evenly into the crust and spread it gently with a spoon. Place the tart pan on a baking sheet to catch any drips while baking.
Step 4: Bake Until Golden
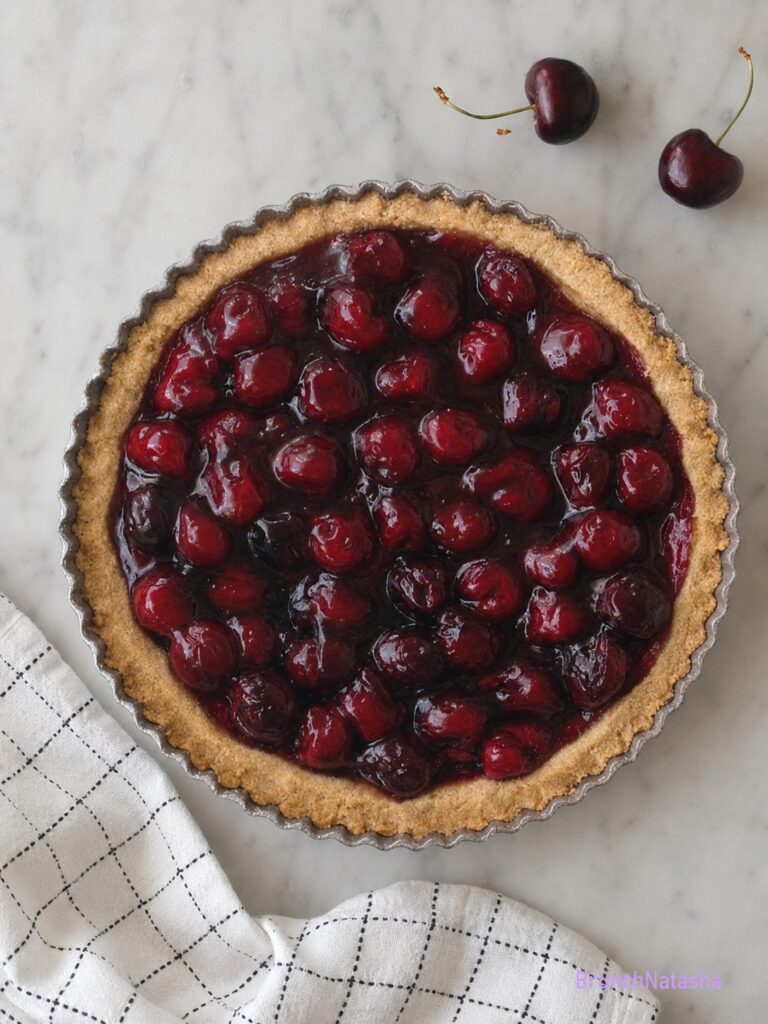
Bake the tart for about 35 to 40 minutes or until the crust turns lightly golden and the filling is bubbling around the edges. If the crust browns too quickly, loosely cover it with foil during the last part of baking. Remove the tart from the oven and allow it to cool completely before slicing. Cooling helps the filling set properly so every slice holds its shape.
Why You’ll Love This Recipe
- It’s completely gluten-free without sacrificing flavor.
- The buttery crust is crisp, tender, and easy to make.
- Sweet, juicy cherries create a delicious homemade filling.
- It’s a beautiful dessert for holidays, parties, or family dinners.
Tips and Shortcuts
- Chill the dough for at least 30 minutes to make it easier to roll.
- A splash of almond extract gives the tart a bakery-style taste.
- Roll the dough between two sheets of parchment paper to prevent sticking.
- Cook the filling until it thickens before adding it to the crust.
What to Serve with Cherry Tart Gluten-Free
This gluten-free cherry tart is a delightful dessert that’s perfect for any occasion. I like serving it with fresh cherries or a spoonful of whipped cream, and it pairs beautifully with herbal tea, a vanilla latte, or a cherry smoothie.
Frequently Asked Questions
Can I use frozen cherries instead of fresh ?
Yes. Frozen cherries work very well and do not need to be thawed before cooking.
Is almond extract required ?
No. It is optional but adds a wonderful flavor that pairs well with cherries.
How do I keep the crust from getting soggy ?
Cook the filling until thick and let it cool slightly before adding it to the crust.
Can I use other fruits with the cherries ?
Yes. Blueberries, raspberries, blackberries, or strawberries make delicious additions.
How to Store Leftovers
Refrigerator Storage
Let the Cherry Tart Gluten-Free cool completely, then cover it tightly or store it in an airtight container. Keep it in the refrigerator for up to 4 days.
Freezer Storage
Wrap the whole tart or individual slices well and place them in a freezer-safe container. Freeze for up to 3 months. Thaw overnight in the refrigerator before serving.
Cherry Tart Gluten-Free
Course: DessertCuisine: American, Gluten-FreeDifficulty: Easy8
servings25
minutes40
minutes300
kcal1
hour5
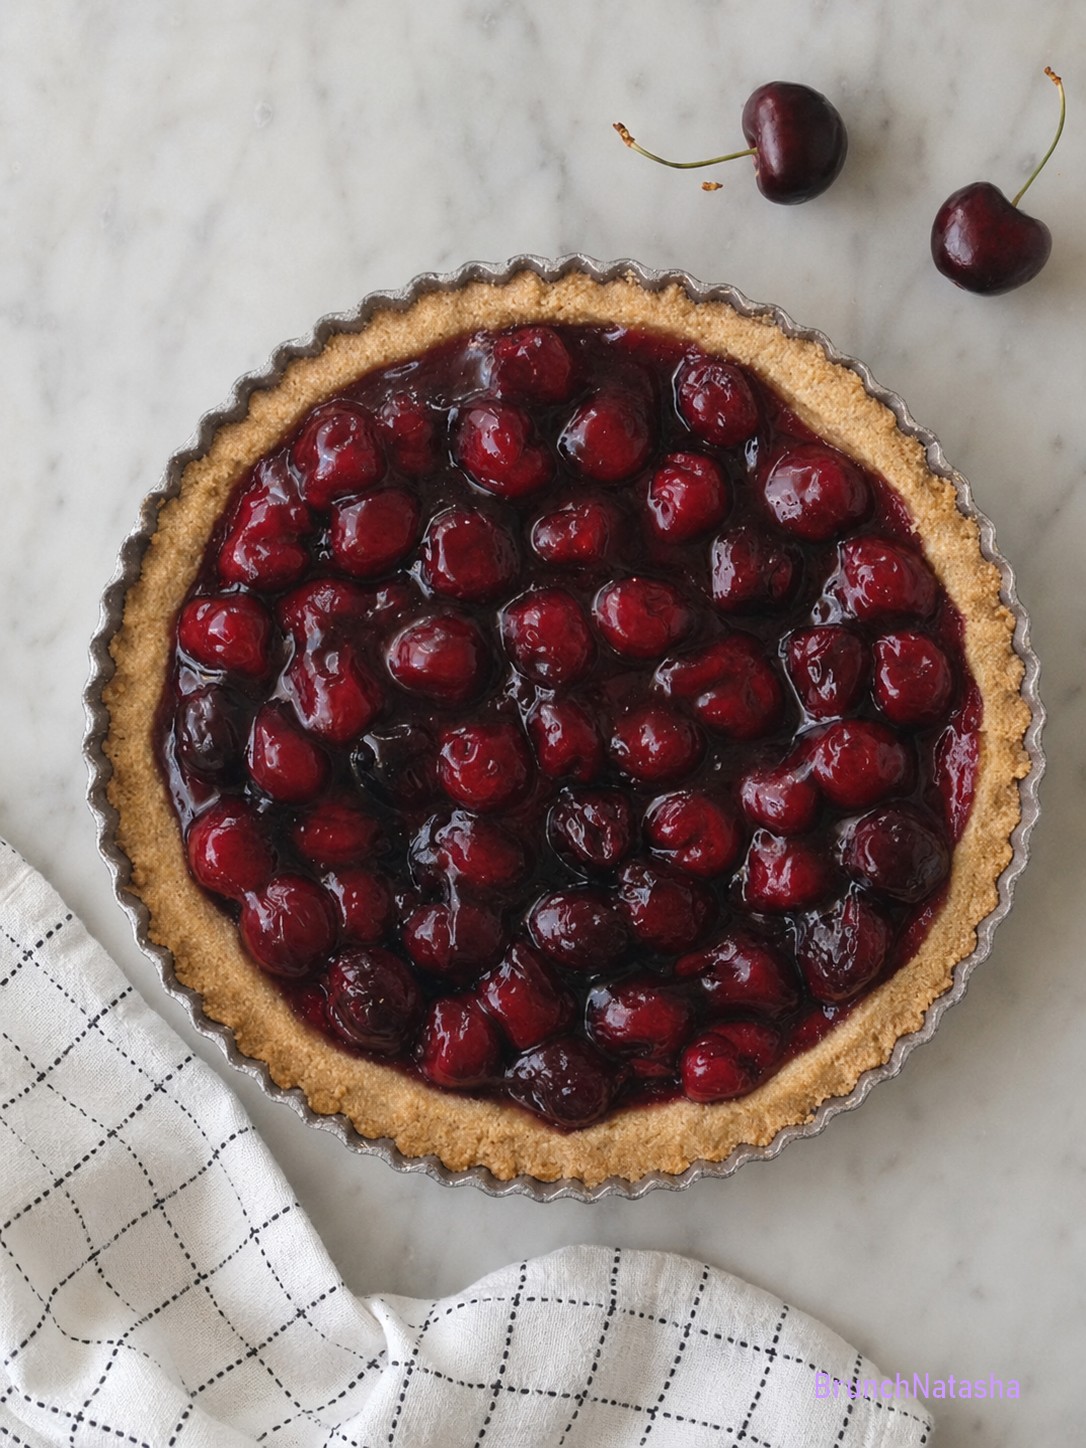
minutesThis Cherry Tart Gluten-Free is a sweet and buttery dessert with a crisp gluten-free crust and a juicy cherry filling. It's easy to make, perfect for any occasion, and delicious served with whipped cream or vanilla ice cream.
Ingredients
2 cups gluten-free all-purpose flour blend
½ cup almond flour
½ cup cold unsalted butter, cut into cubes
¼ cup granulated sugar
1 large egg
1 teaspoon vanilla extract
¼ teaspoon salt
2–4 tablespoons cold water if needed
4 cups fresh or frozen pitted cherries
½ cup granulated sugar
2 tablespoons cornstarch
1 tablespoon lemon juice
1 teaspoon vanilla extract
¼ teaspoon almond extract (optional)
Pinch of salt
Powdered sugar
Whipped cream
Vanilla ice cream
Fresh cherries
Mint leaves
Directions
- Step 1: Prepare the Gluten-Free Dough ,In a large mixing bowl, combine the gluten-free flour blend, almond flour, sugar, and salt. Add the cold butter cubes and use a pastry cutter or your fingertips to mix until the texture looks like coarse crumbs. Stir in the egg and vanilla extract, then slowly add cold water one tablespoon at a time until the dough comes together. Shape it into a flat disk, wrap it in plastic wrap, and chill in the refrigerator for at least 30 minutes. Chilling helps the butter stay cold and makes the crust easier to roll.
- Step 2: Make the Cherry Filling ,While the dough chills, place the cherries, sugar, cornstarch, lemon juice, vanilla extract, almond extract if using, and a pinch of salt into a saucepan. Cook over medium heat, stirring often, until the cherries soften and the mixture thickens into a glossy filling. This usually takes about 8 to 10 minutes. Remove the pan from the heat and allow the filling to cool slightly before adding it to the crust.
- Step 3: Assemble the Tart ,Preheat your oven to 375°F (190°C). Roll the chilled dough between two sheets of parchment paper until it is large enough to fit your tart pan. Carefully press the dough into the pan and trim the edges if needed. Spoon the cooled cherry filling evenly into the crust and spread it gently with a spoon. Place the tart pan on a baking sheet to catch any drips while baking.
- Step 4: Bake Until Golden ,Bake the tart for about 35 to 40 minutes or until the crust turns lightly golden and the filling is bubbling around the edges. If the crust browns too quickly, loosely cover it with foil during the last part of baking. Remove the tart from the oven and allow it to cool completely before slicing. Cooling helps the filling set properly so every slice holds its shape.
Notes
- Don't overwork the dough.
- Add sliced almonds for extra crunch.
- Add lemon zest for extra freshness.
- Use cold butter for a flaky crust.
Save this recipe for later on Pinterest



One Comment
Comments are closed.